
Usage
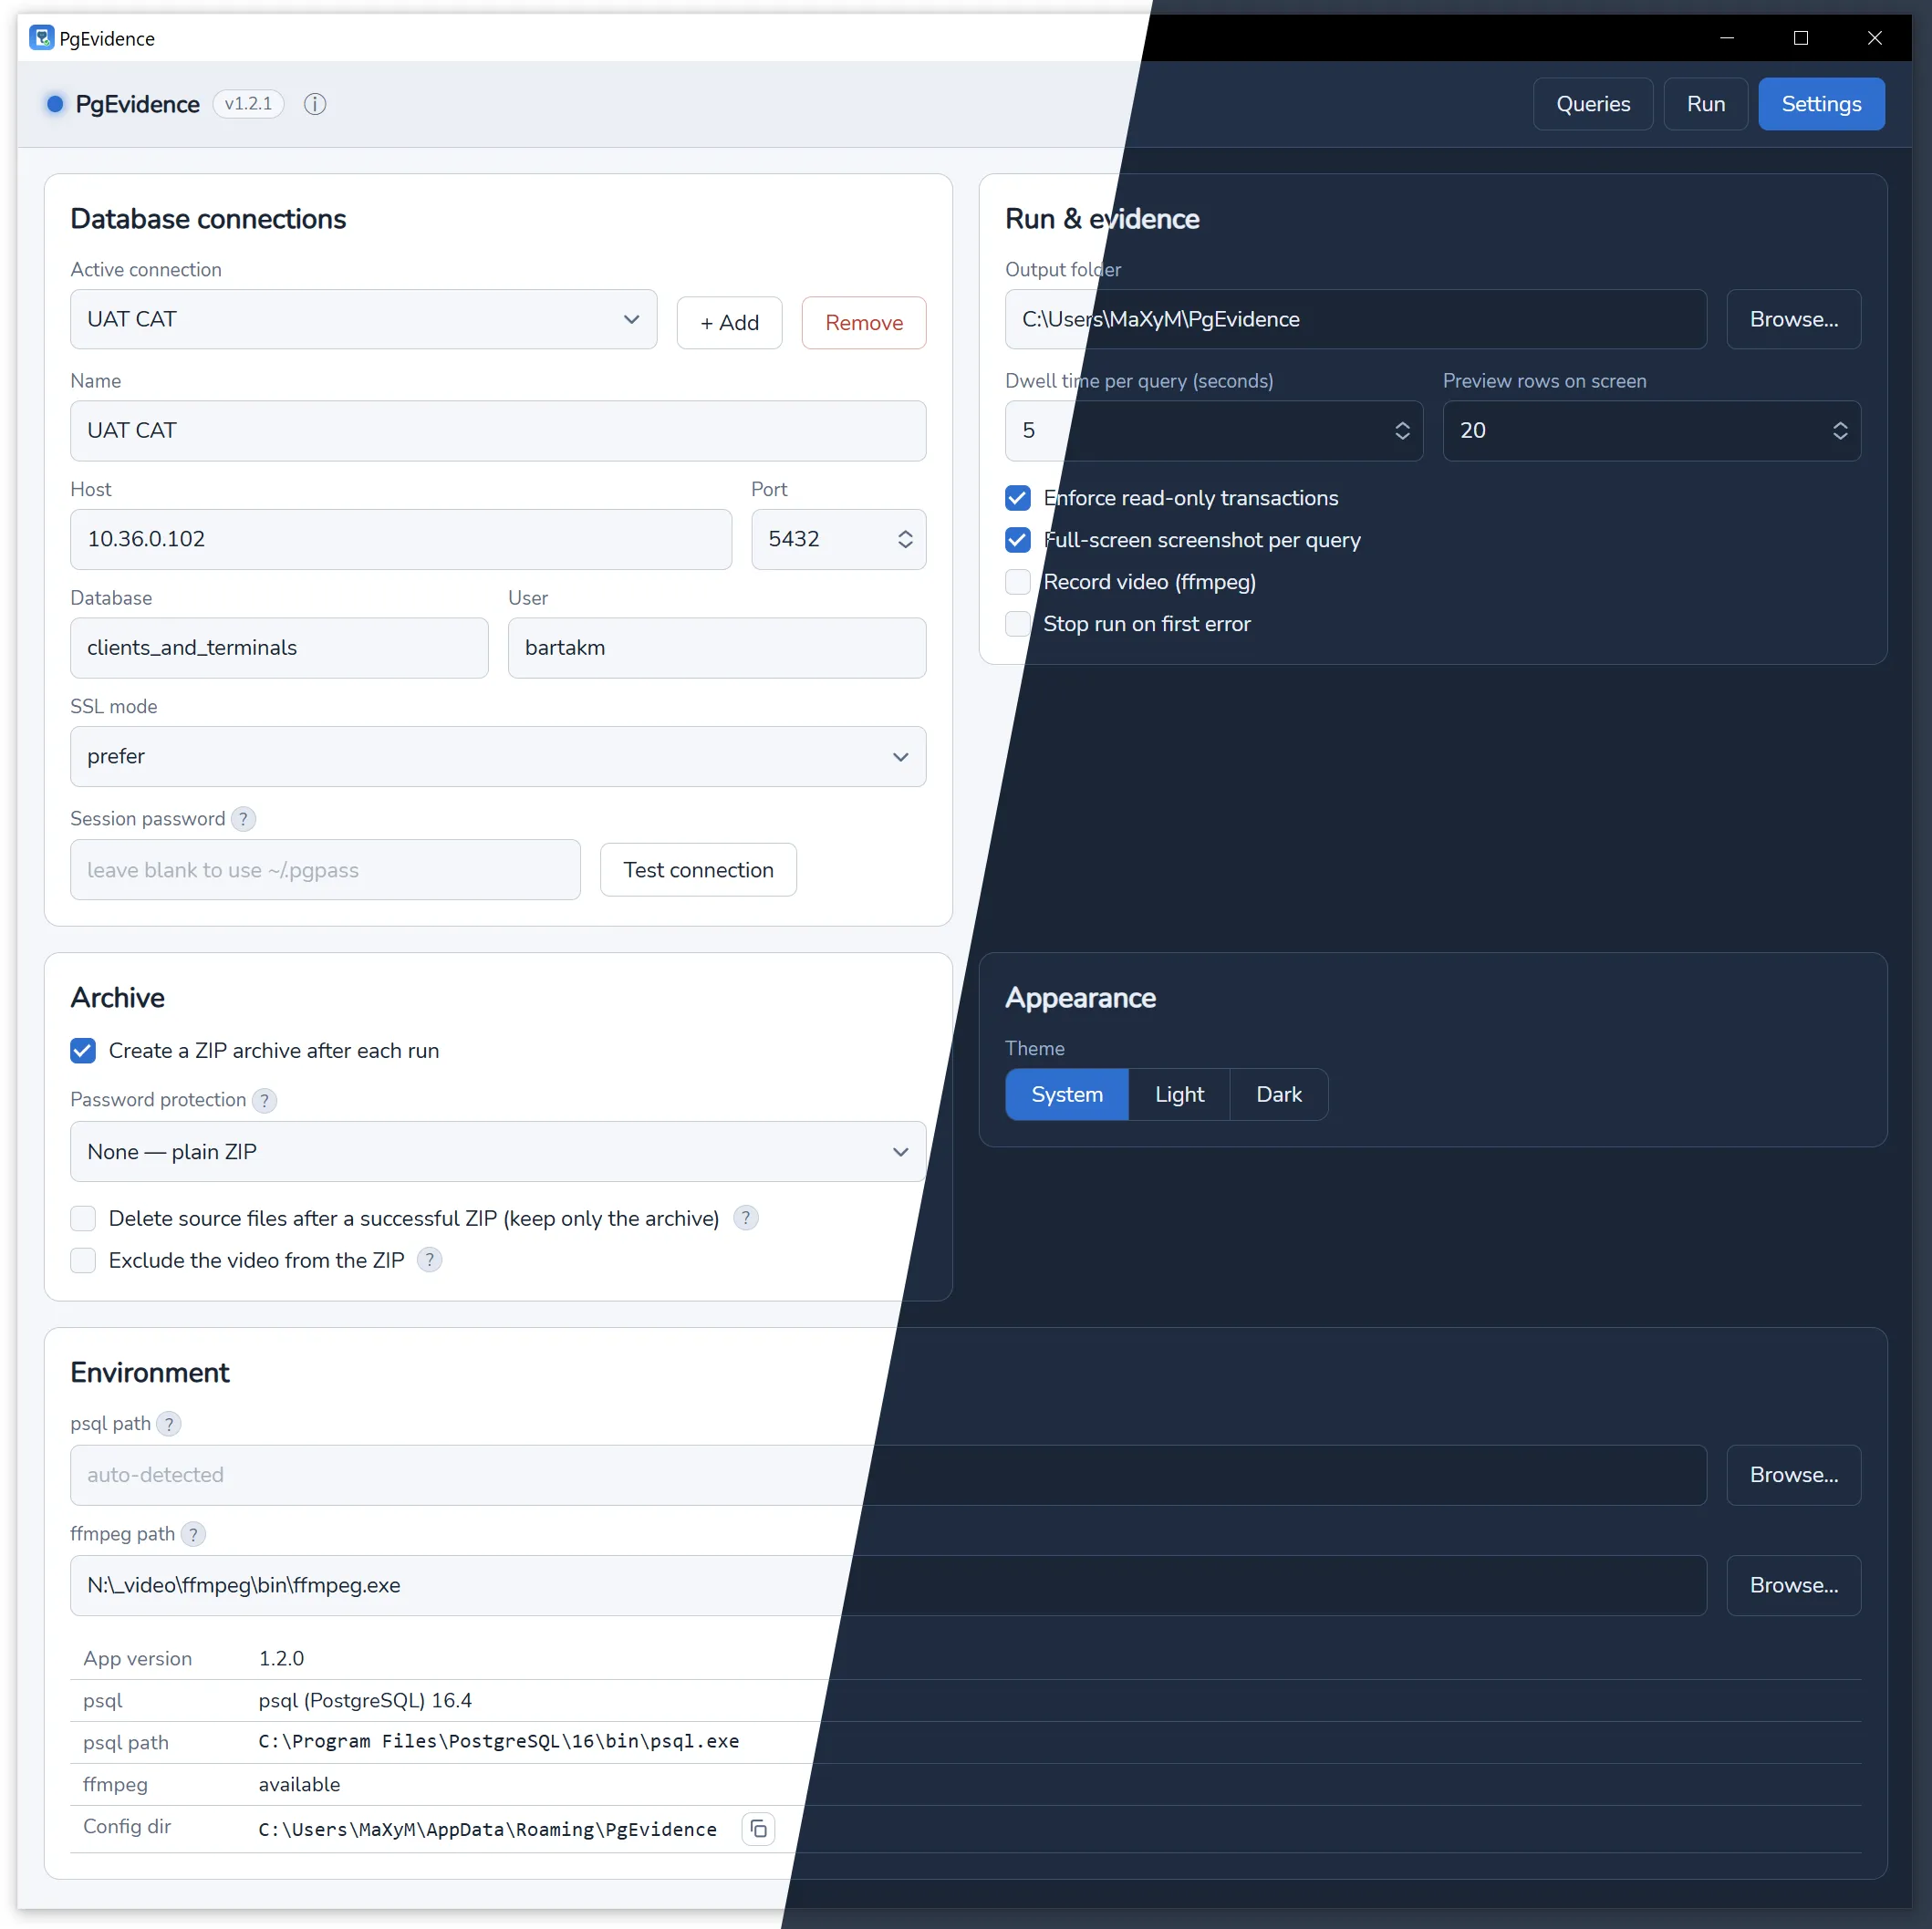
PgEvidence has three tabs: Settings, Queries, and Run.
Settings
Define your database connection(s) — host, port, database, user, SSL mode. Changes save
automatically (there’s no Save button). Optionally type a session password (held in memory
only; empty the field to clear it) or rely on .pgpass
Application tries to autodetect existence of psql and ffmpeg utilities in the system. though it allows to set the path to these executables, too.
This page allows to setup default behavior for making evidence, like enable screenshots, video recording or zip archiving. These properties can be overriden on the Run page at any time without changing default settings.
Queries
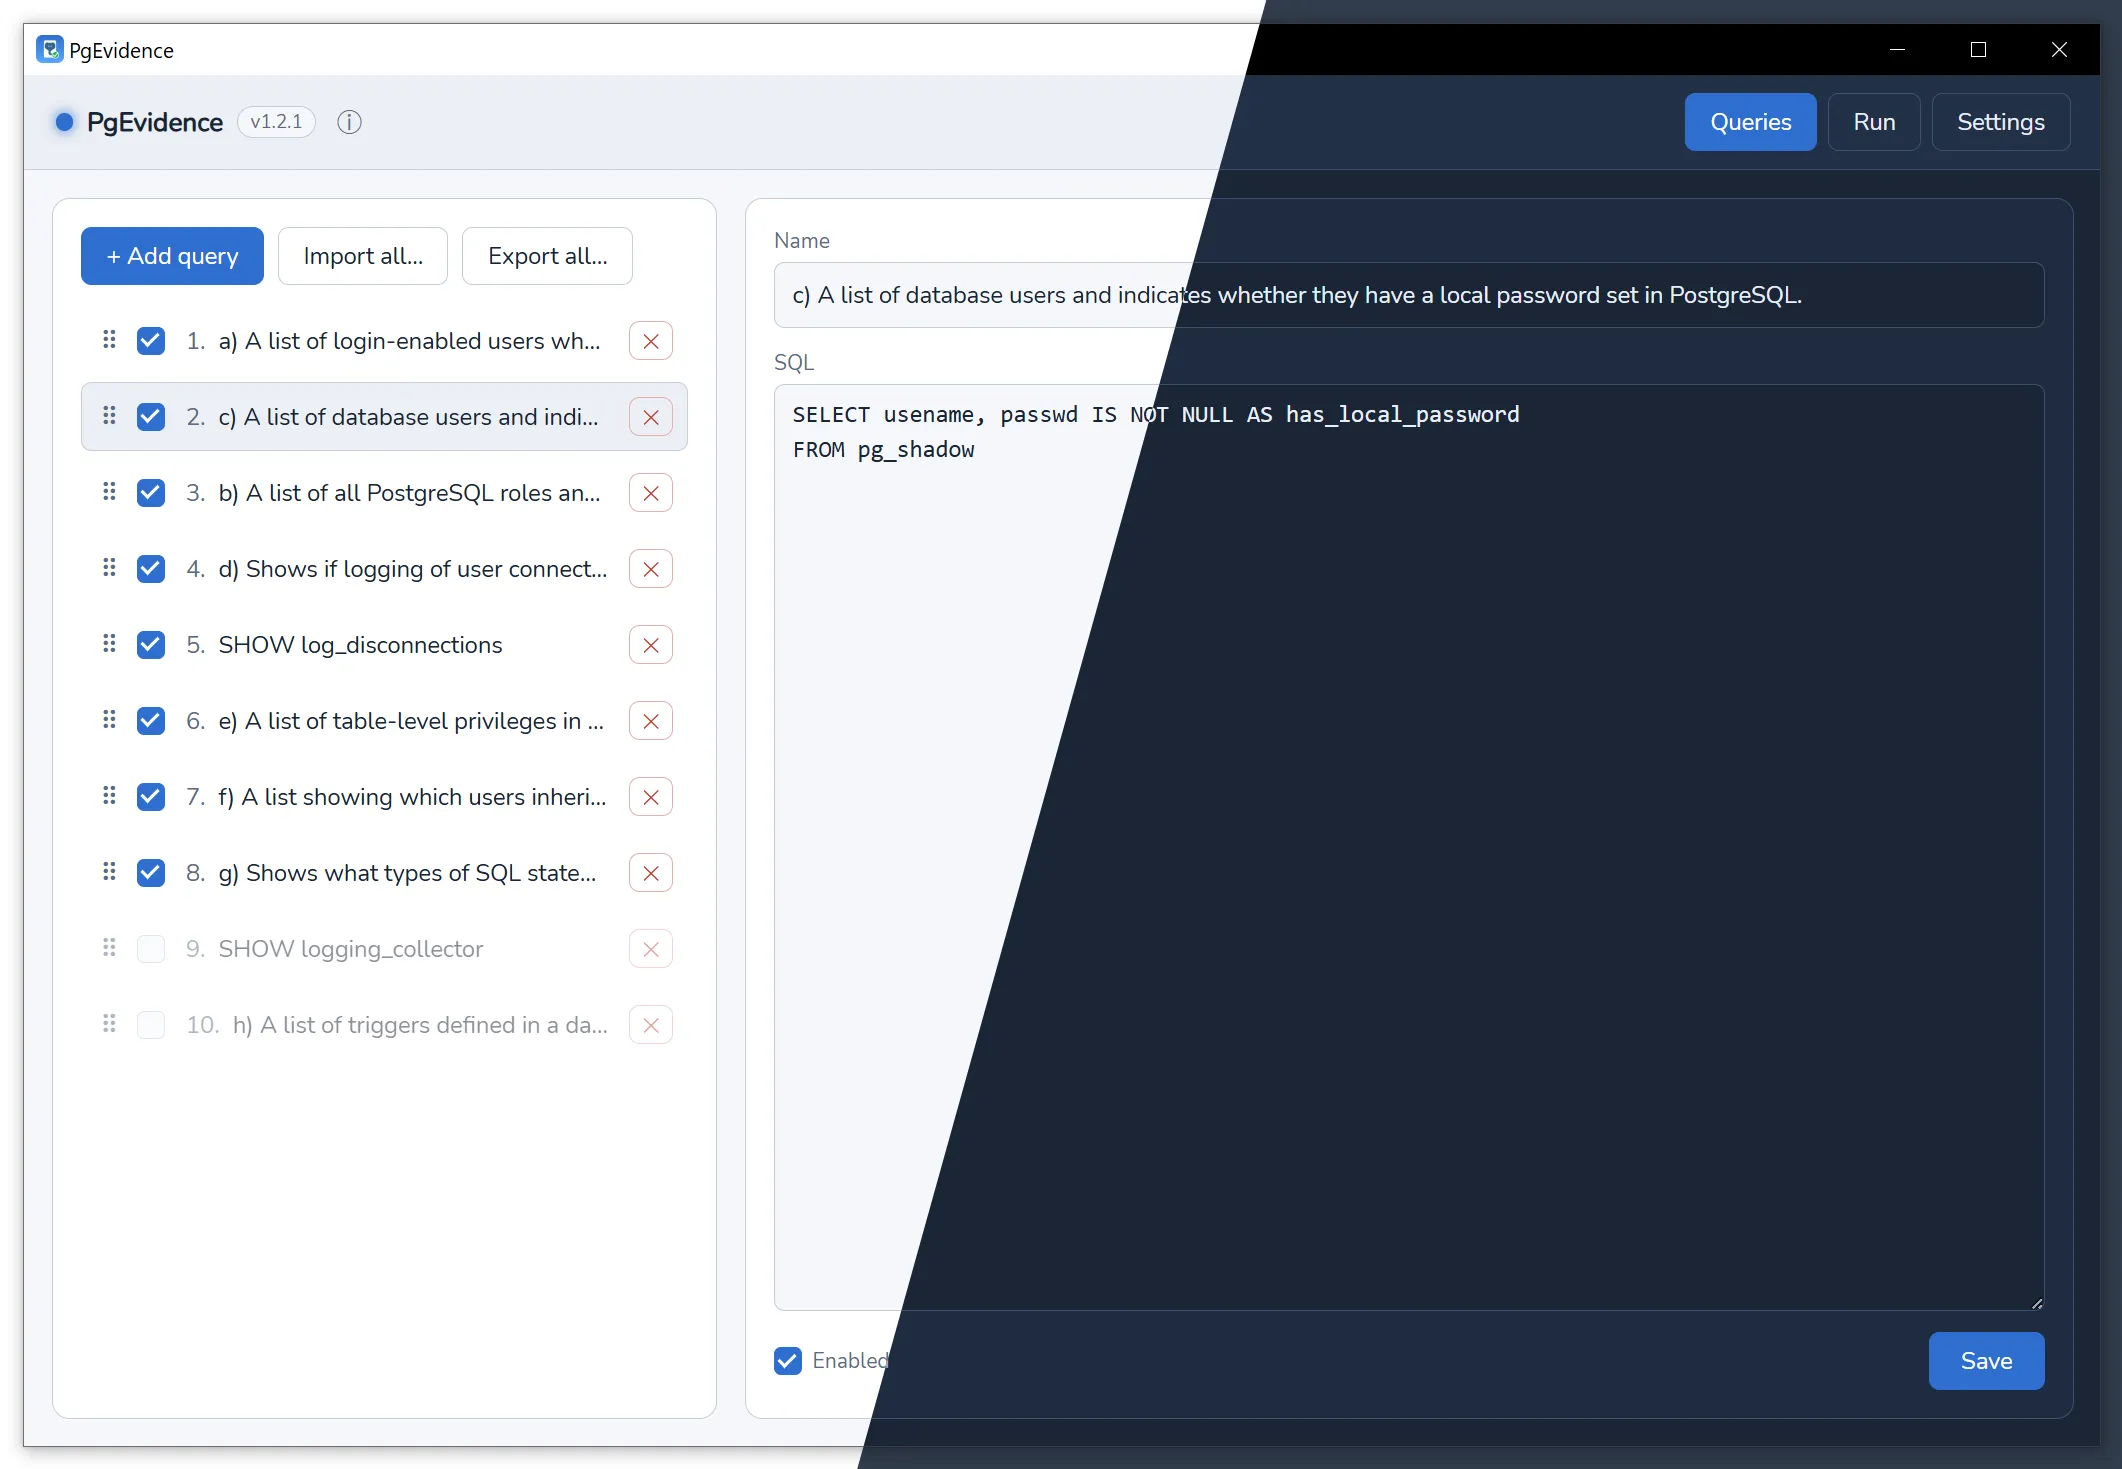
Add, edit, remove, and drag the handle to reorder queries — or Import all to paste a
JSON set or a plain .sql script (split on semicolons). On import, the free text before each
query (a description and/or -- comment) becomes its name and is excluded from the SQL.
Export all saves your set as JSON.
Run
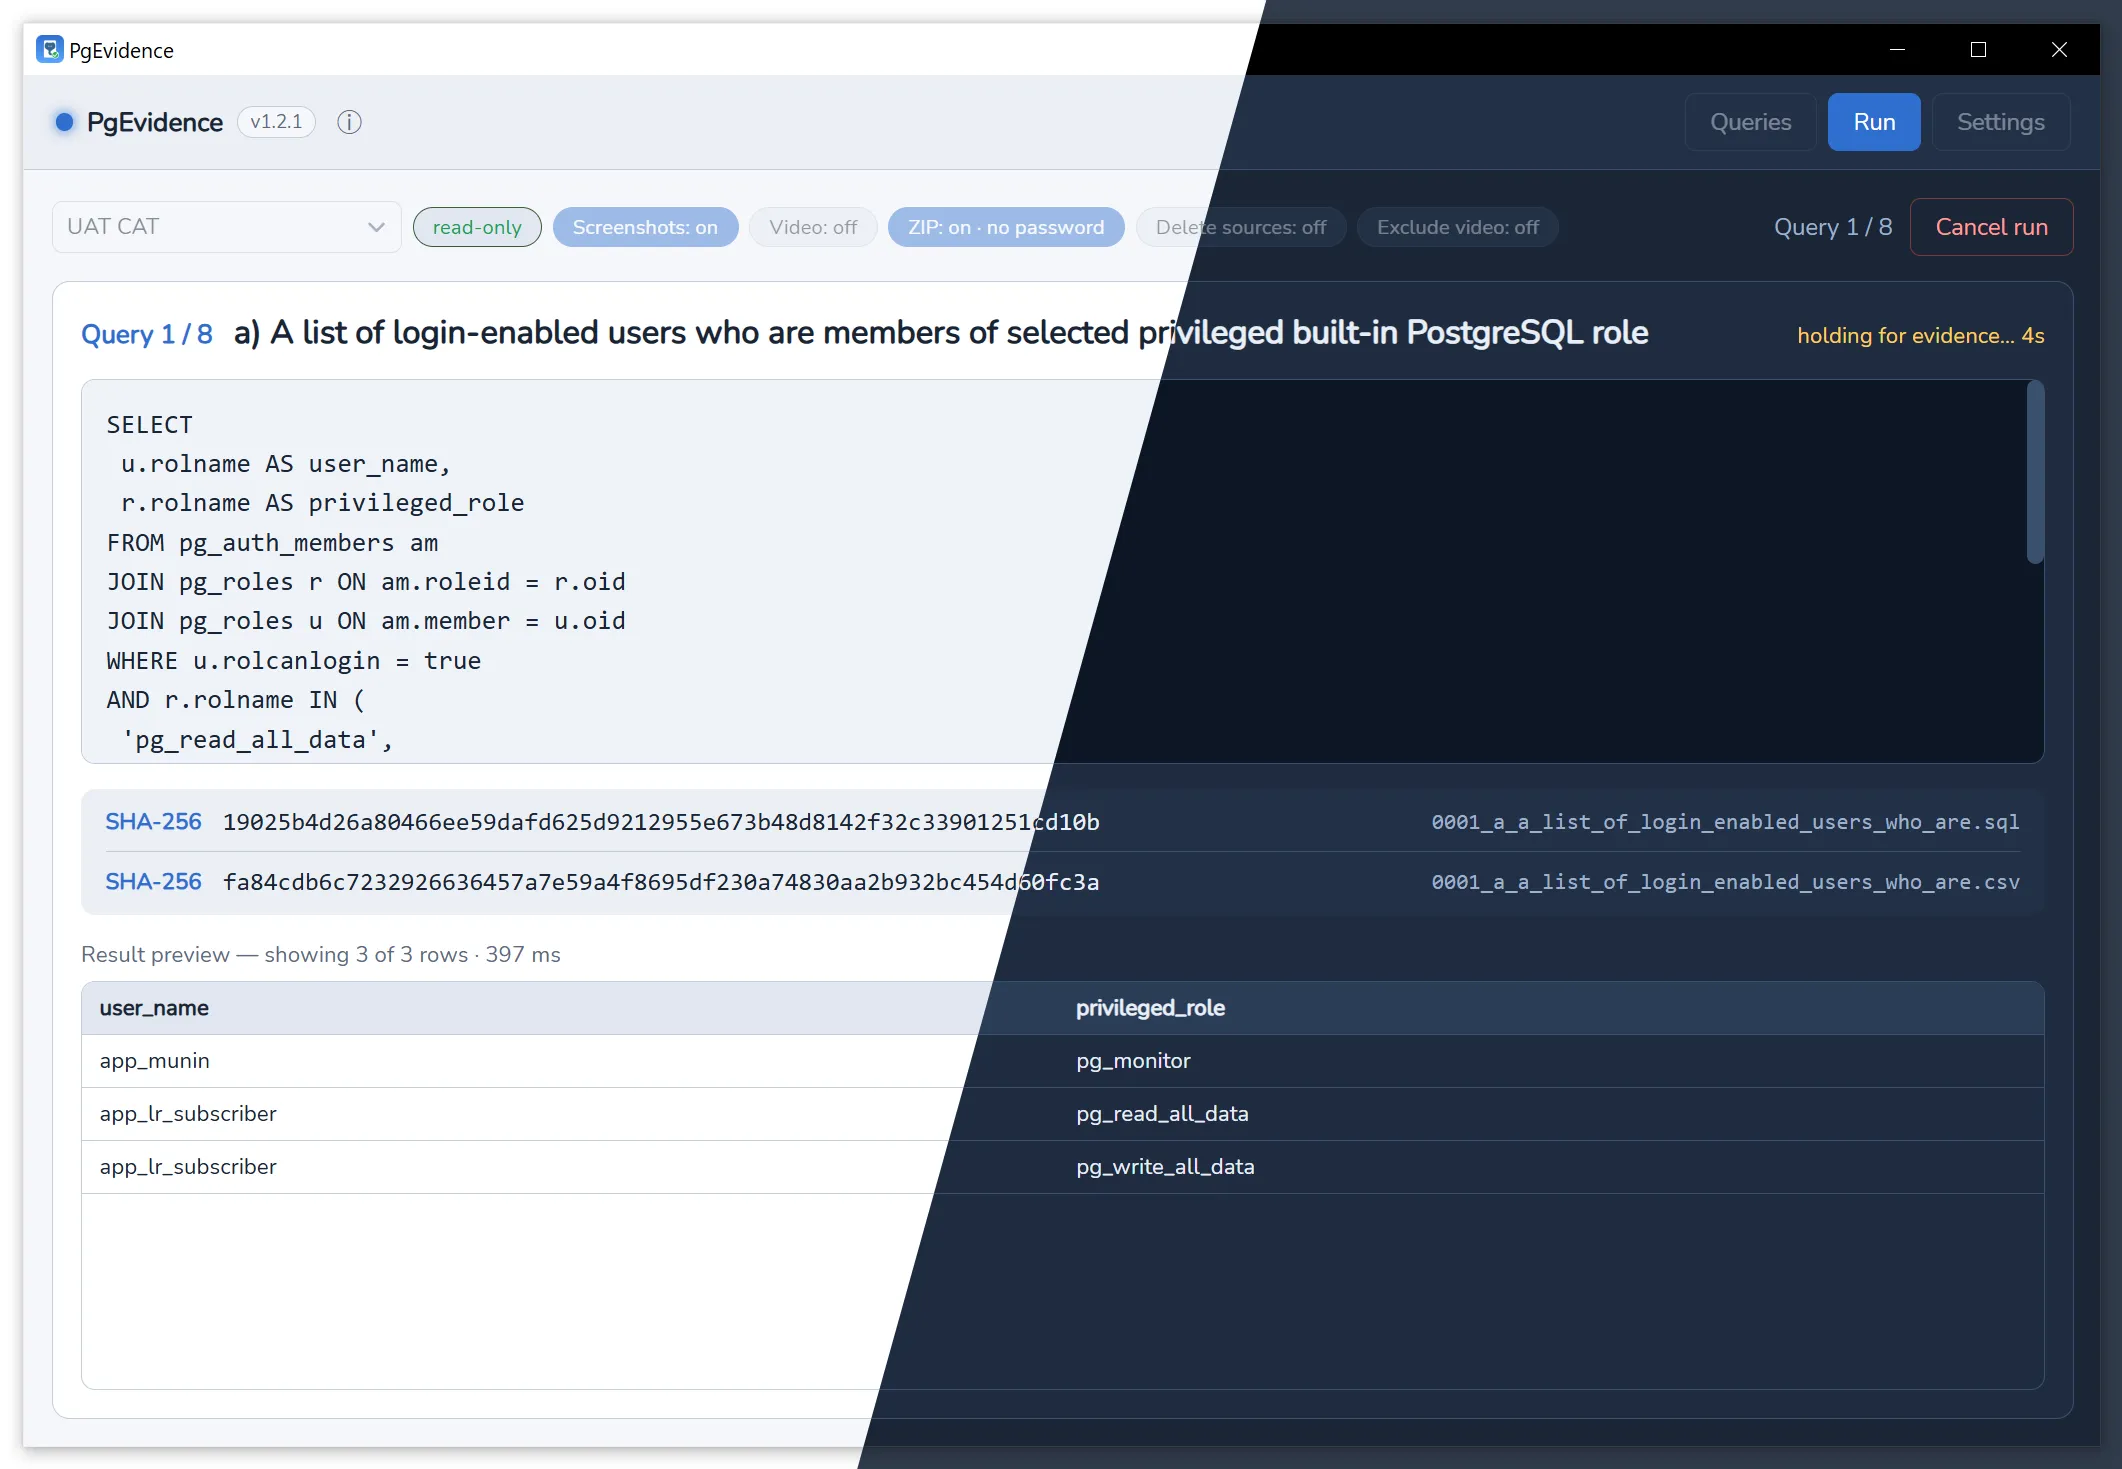
Pick the connection from the dropdown, toggle Screenshots / Video as needed, then Start run. Each query runs in order and is shown on screen with its checksum and a result preview; the evidence folder opens when the run completes.
Archiving
Enable Create a ZIP archive (Settings → Archive). Password protection can be none,
explicit, or auto-generated (saved next to the archive as <name>.zip.pwd). Encryption
is legacy ZipCrypto for broad compatibility (opens with macOS unzip, Windows Explorer,
7-Zip). Optionally delete source files after zipping, or exclude the video from the ZIP
(large recordings compress poorly).
Verifying the evidence
cd audit-run-YYYYMMDD-HHMMSSsha256sum -c *.csv.sha256 # every CSV resultsha256sum -c *.sql.sha256 # every query filesha256sum -c manifest.json.sha256 # the run manifestPopular file managers such as Total Commander and Double Commander can verify .sha256 files, either individually or in batches.